Here you will learn how to connect the CCTSync add-in to the Google account and activate or deactivate the synchronization of calendars and contacts.
New in this version is the activation of the synchronization for calendar and/or contacts via the Google website. This means that you will no longer find the activation in the program. Please refer to step 4 and the chapter Enabling or disabling contacts and calendars for synchronization below.
1.) Start the configuration wizard with the following icon:

2.) In the configuration wizard go to the following page:
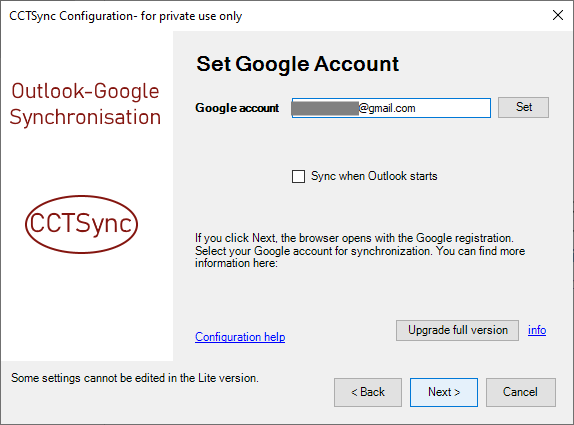
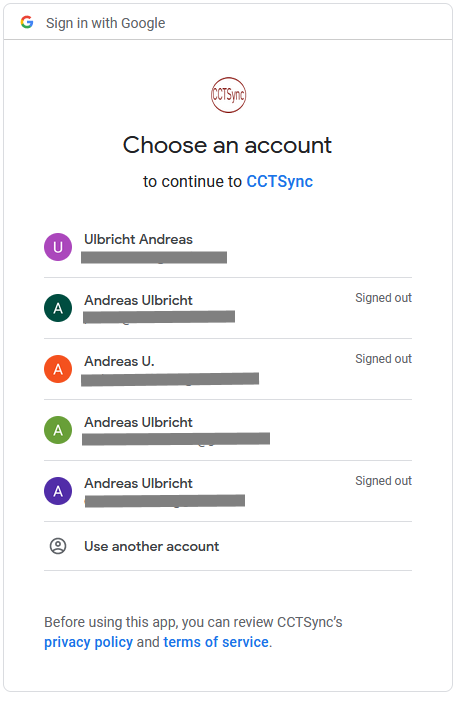
3.) Once entered, click Next. The Google account is checked. When you enter or change the account for the first time, a browser window opens. Click here to select the Google account for use in CCTSync.
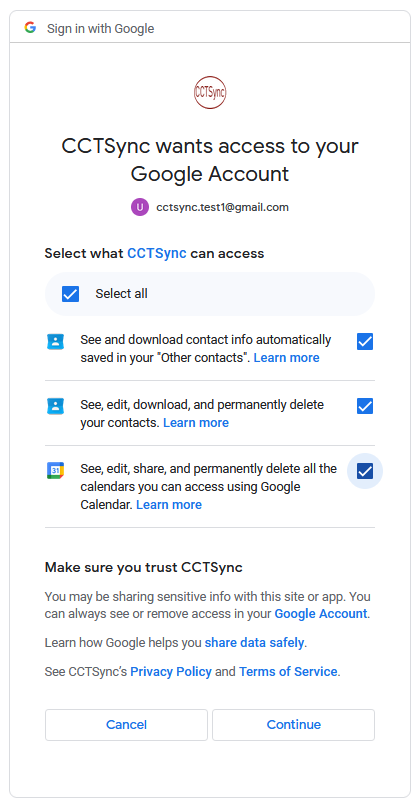
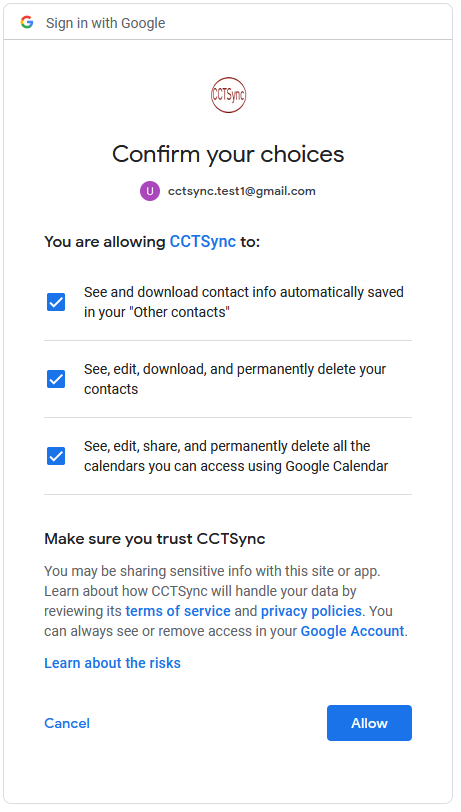
4.) In the next screen you can choose whether you want to sync contacts, calendar or both. In the lite version you have to activate all contacts and calendars – all 3 options. Further down on this website is how you can change the setting later. After selection, click Allow.
5.) The following text appears. You can now close the browser.

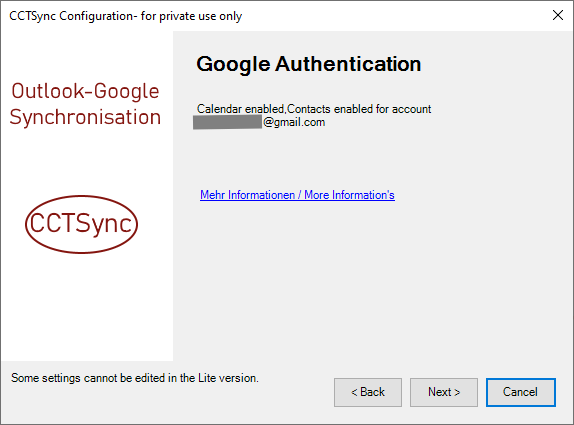
6.) Now switch back to Outlook in the configuration wizard. A summary is displayed. Click Next to go to the next step.
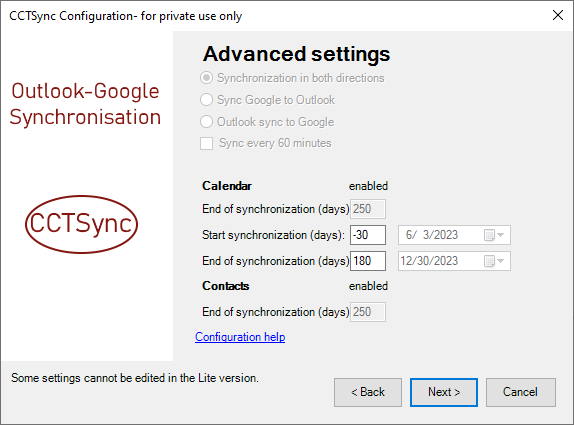
7.) In the advanced settings you can define the synchronization settings for calendar and contacts. This feature is only available in the full version.
8.) Click Next and specify additional settings.
9.) Save all settings at the end of the configuration wizard.
Enable or disable contacts and calendars for synchronization.
Contacts or calendars can only be disabled in the full version. The Lite version only supports calendar and contacts.
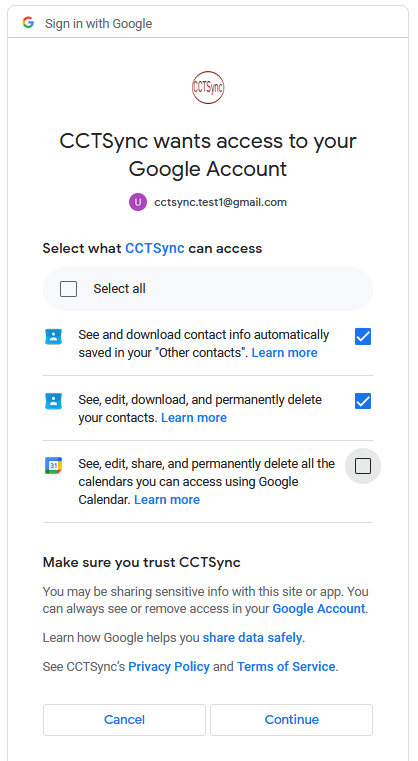
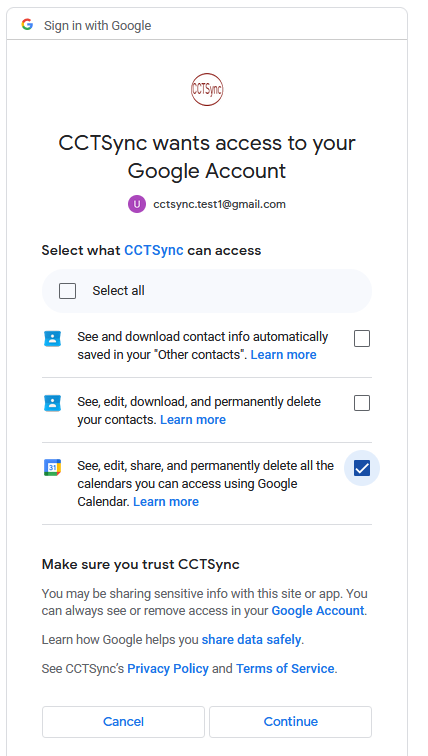
You can activate / deactivate calendar and / or contacts in the browser while connecting the CCTSync add-in to your Google account.
The browser window opens when you enter an account for the first time or change the account.
Click on the Set button in the following image if you want to change the settings for an account.
The browser window for selecting the Google account opens. Once selected, you can enable or disable Contacts and/or Calendar.
Here you will find the 3 options for synchronization: