
This blog series describes how to use the Paypal API in an ASP.NET web project. There are a lot of samples in the internet which are describing the PayPal API and use a lot of project specific functions. Therefore, I would like to describe the use of the PAyPal API without any unnecessary information. The result is a small web project that can be tried out quickly.
Prerequisites
To prepare we need to do some steps at PayPal and Visual Studio site. The PayPal preparation you need to do if you want to try the sample.
At first you need to create a business account at PayPal. Only with this type of PayPal account the Rest API functionality will be available. Create your business account here http://paypal.com/.
After this create your test merchant account for shop and at least one test buyer account on https://developer.paypal.com.
Then you need to create the client ID and client secret to use in REST API interface.
Visual Studio 2017 (with updates) is used as development environment.
The type of webapplication project we will create later is ASP.NET with .NET V4.6.1. The project can be downloaded at the end of part 3.
PayPal Set Up
Create Your Business PayPal Account
Use the link https://www.paypal.com/de/webapps/mpp/merchant to create your business account. Follow the steps on the PayPal page.
Create Your Test Accounts
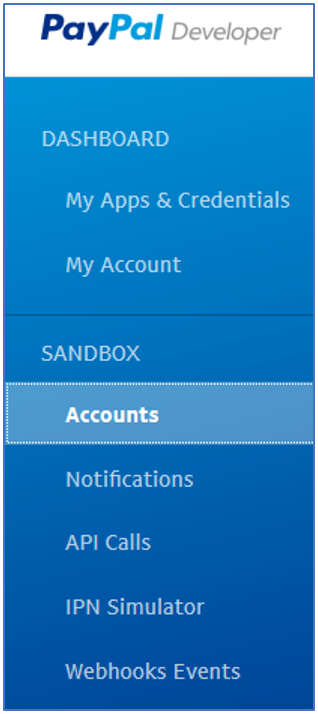
- Open https://developer.paypal.com and login with your business account.
- Go to Sandbox and click Accounts
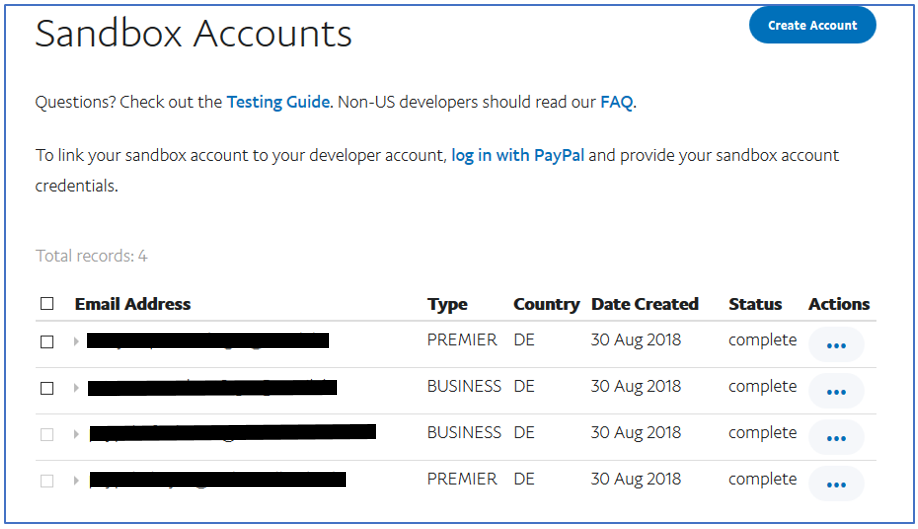
- Create an business account (merchant account) and at least one personal account (buyer account)
Create Your Client ID and Secret Keys
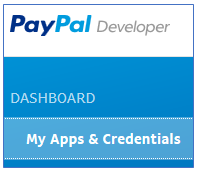
- Go to Dashboard an My Apps & Credentials
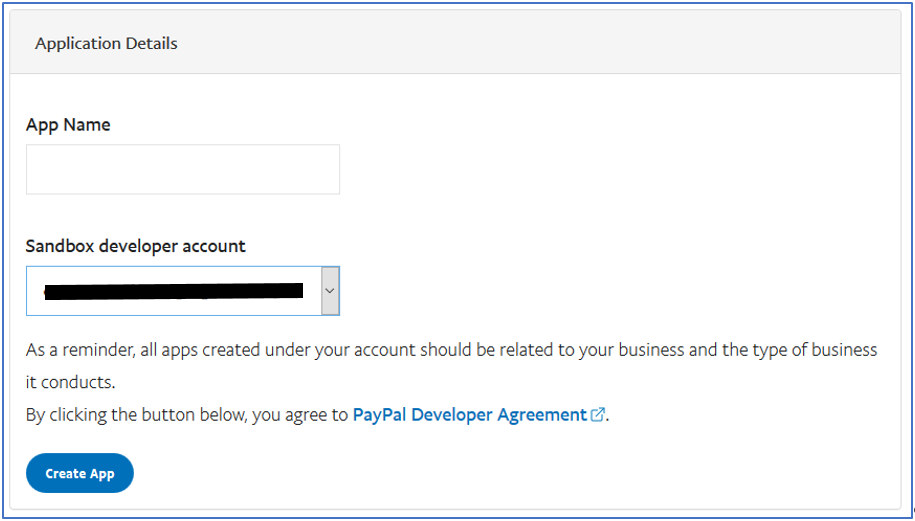
- Create REST API credentials. Start with creating an app.
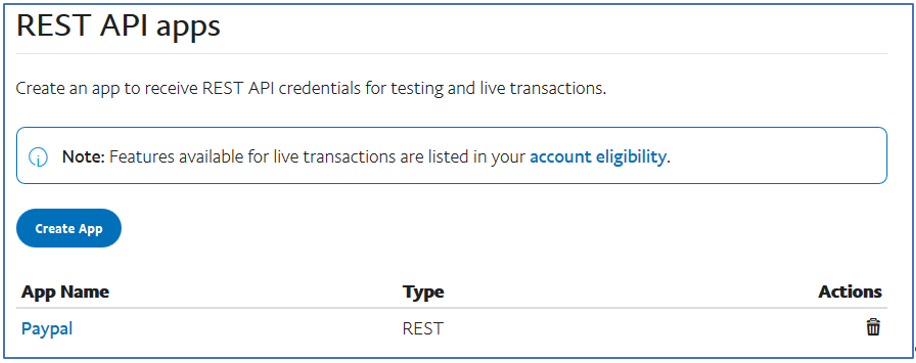
- Give an application name and select your merchant account
- See your application credentials
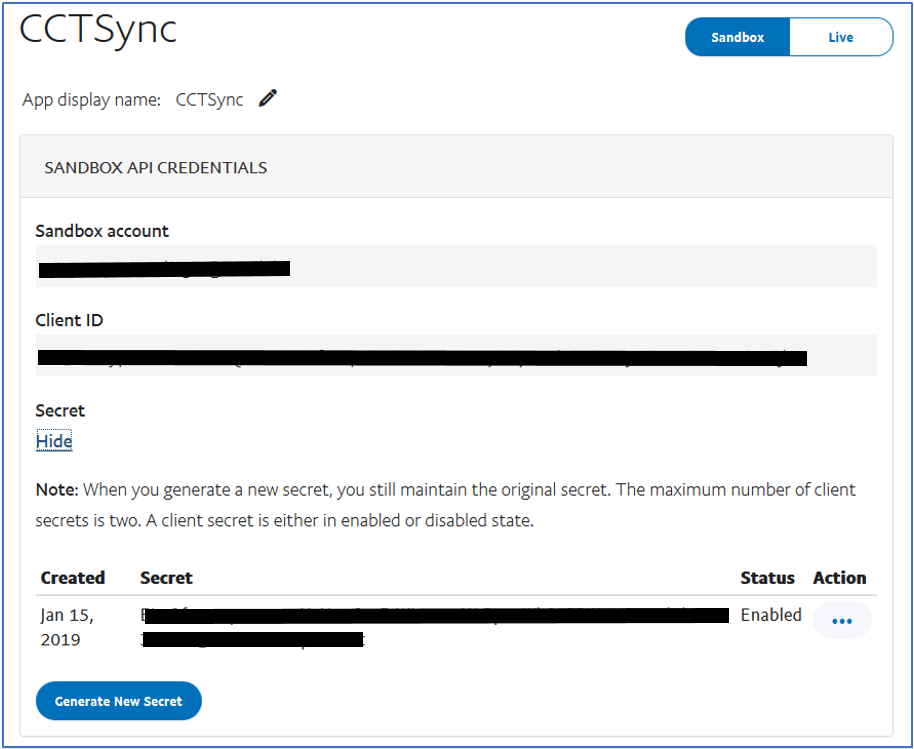
Copy your Client ID and the secret key for later use in web application project